Menu Setup
- In WordPress administration navigate to Appearance > Menus
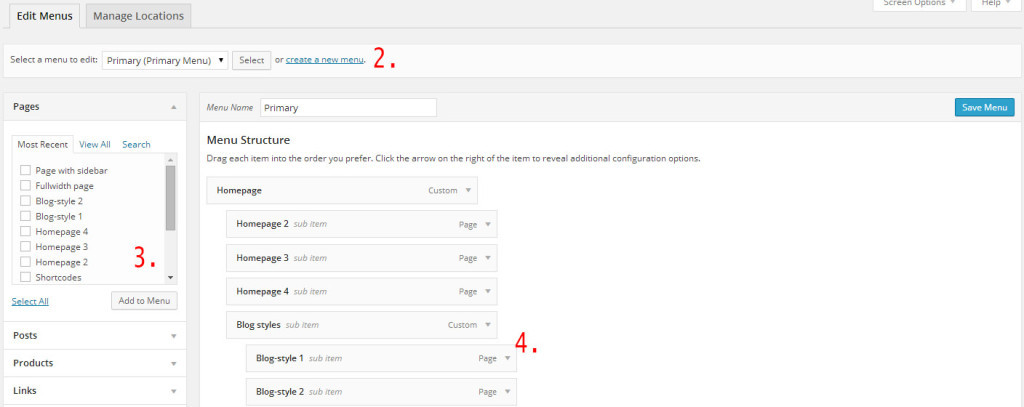
- Create a new menu by adding a “Menu Name” and saving the menu.
- Proceed by adding Pages, Categories and Custom Links to the new menu.
- Organize your menu by dragging and dropping the links to your desired locations.
- Select menu location
- Make sure to save your changes when you are done.
Menu Icons
1. Enable Classes In Your WordPress Menu
By default the WordPress menu doesn’t show the “class” attributes in the menu builder, so hit the “screen options” and make sure it is checked.

2. Your second step is to take the name/class name from step one, and put it into the CSS field for each menu item. All icons with CSS classes you can find here: http://fontawesome.io/icons/
![]()